

Never Miss a Beat: Get a snapshot of the issues affecting the IT industry straight to your inbox.
Here's how to print from a Windows PC to a Mac.
3 Min Read

You have a Windows PC in one room of your home or office. And there's a printer connected to a Mac in another room. How do you print? Here's how to print from a PC to a Mac over a home or business network.
This How To applies to OS X Snow Leopard and Lion, though I demo the following on Snow Leopard.
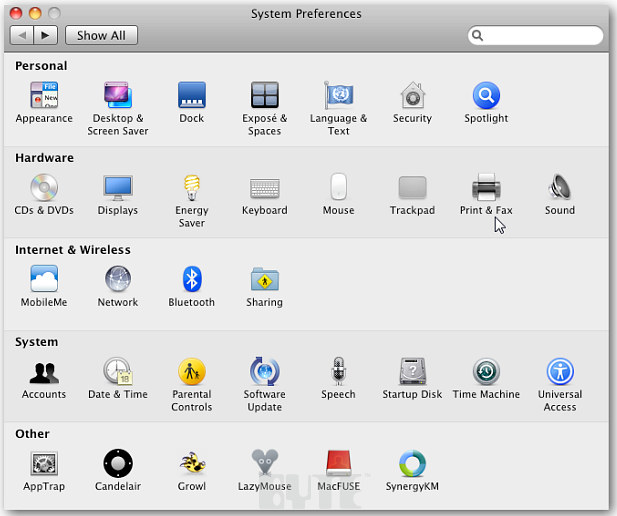
First, start the Mac and make sure its Apple-compatible printer is connected to it via USB. To do this, open System Preferences. Click on Print & Fax in the Hardware section.
OS X Snow Leopard automatically detects the printer. If it is doesn't connect, make sure the correct drivers are installed, it's powered on and all cables are connected.
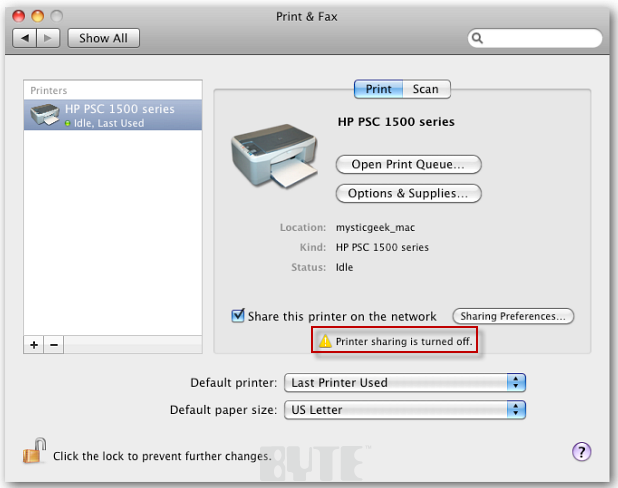
The warning shows that printer sharing is turned off. Check the box next to Share this printer on the network. And click the Sharing Preferences button.
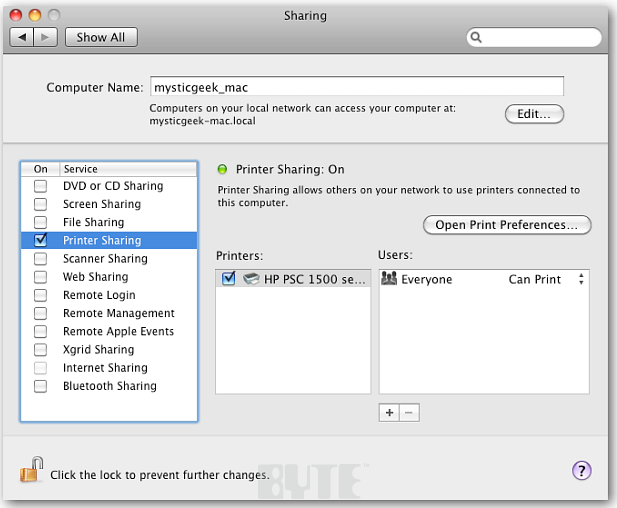
Now check the box next to Printer Sharing to share it over the network. Leave the defaults if you want everyone to have the ability to access the new network printer. Adjust it as you will.
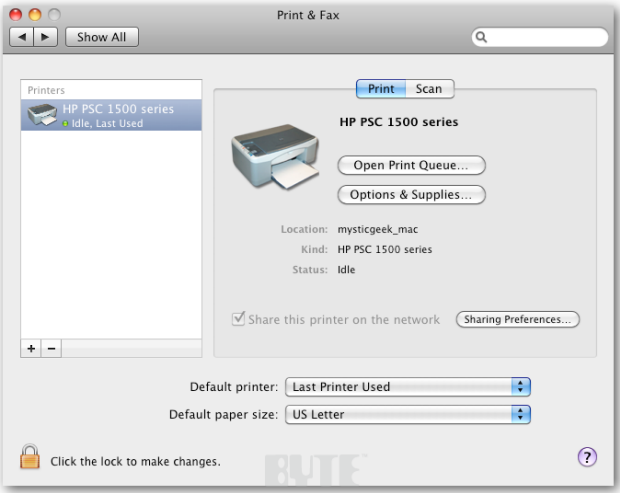
Click the Back arrow. Here you'll see the printer set as default. Click the lock icon to prevent further changes and close out of System Preferences.
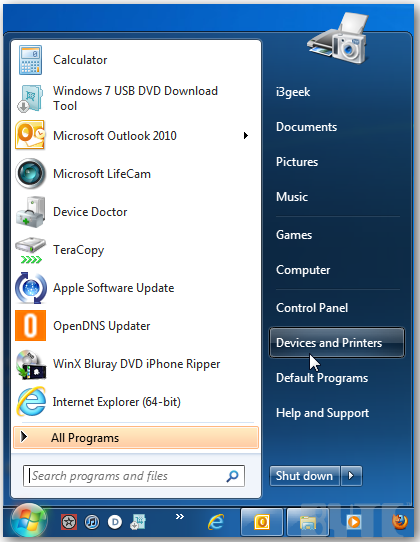
Now, to get the Windows machine working with the printer, open Devices and Printers from the Start Menu on the Windows PC.
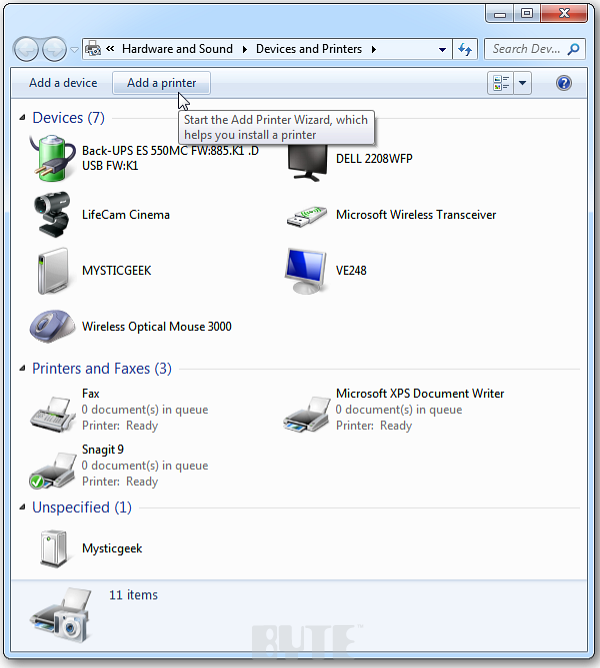
The Devices and Printers Center opens. Click Add a Printer.
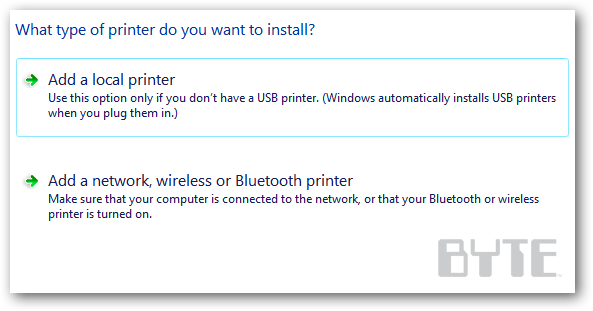
The next screen will ask what type of printer you want to install. Select the second option: Add a Network, Wireless or Bluetooth Printer.
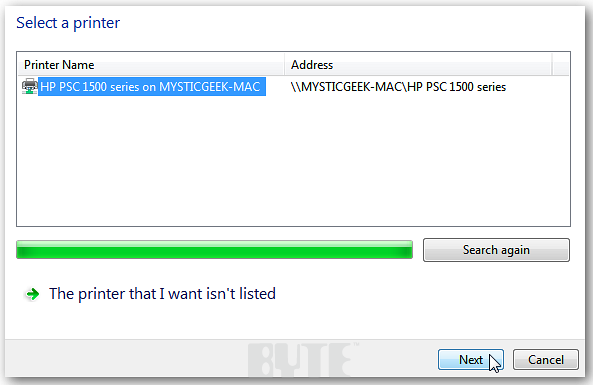
Windows will start scanning your network for available printers. Here you see it found the HP printer I just installed on the Mac.
Many PC users see this immediate message that the system couldn't find the right device driver. No worries. You can work around it.
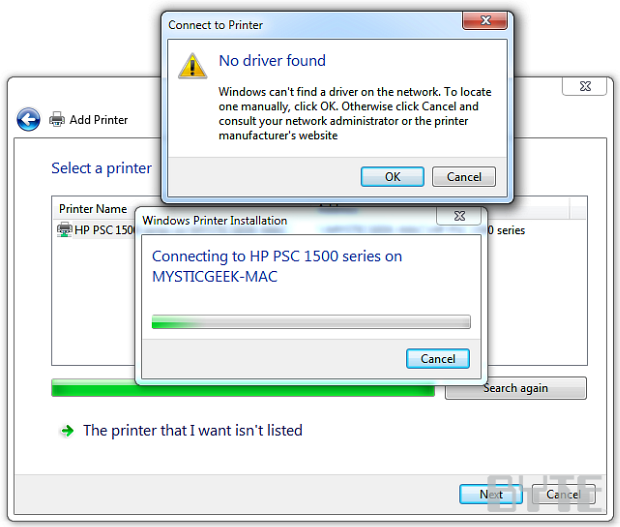
Just click OK on the No Driver Found warning message so you can manually locate it.

The Add Printer Wizard comes up and lets you browse manufacturer and model numbers to find your printer. Find it and click OK. If your printer isn't on the list, click Have Disk and manually install the driver from the disc that came with the printer.
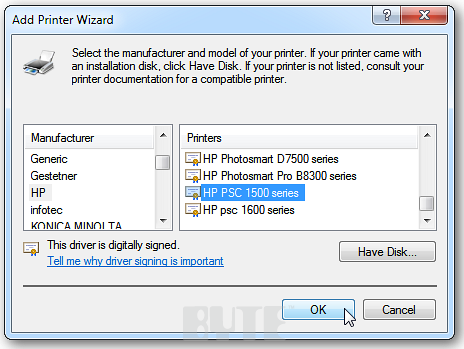
Because the printer was in my Wizard, the driver installs no problem.

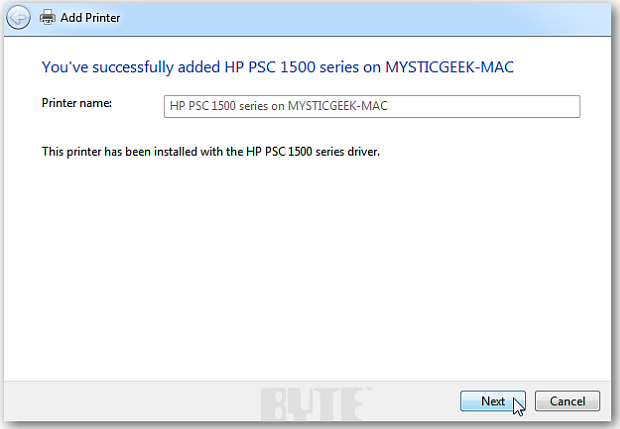
Once the correct drivers are installed, Windows 7 PC successfully adds the printer.
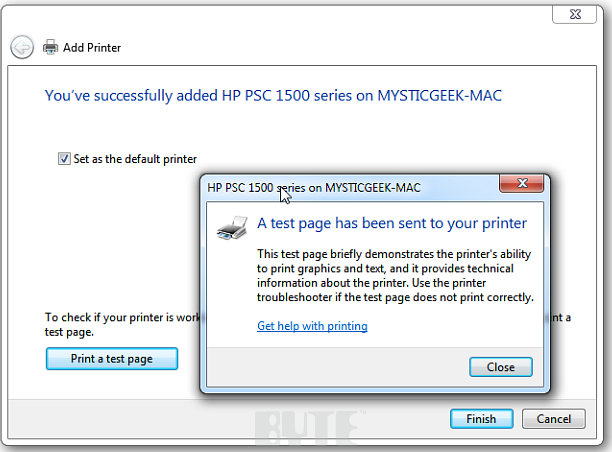
On the next screen, check the box to set it as the default printer. And click the Print a Text Page button.
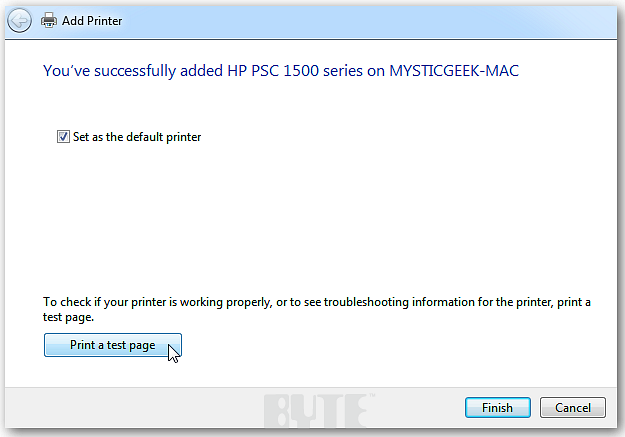
Did your test page print? Check it out. If if it doesn't, scroll down below to find some good printer troubleshooting tips. If it prints, go ahead and close out of the test page screen. Hit Finish.
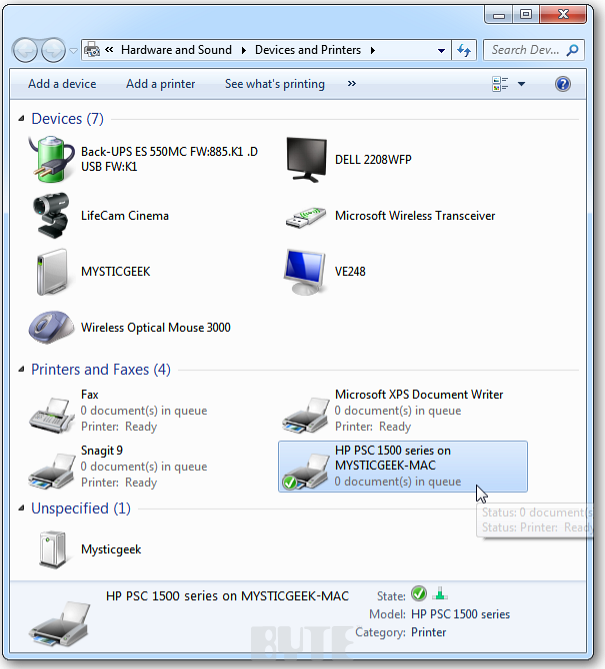
Now, if you go back to the Printers and Devices Center, you'll see that you've successfully added the printer and set it as the default.
Troubleshooting printers is an art for some and a challenge for many. The most common error I've seen is Windows isn't always able to find printer drivers -- especially with older models. To troubleshoot, find the install disc for the old printer or go to its maker's website and download the correct one.

Few things are more annoying than not being able to print when you need to. Keep an eye on BYTE's how to section for more tips and tricks on this in the future.
Brian Burgess is the executive editor at BYTE. Follow him @mysticgeek. Got a comment or idea? Send it to him at [email protected].
About the Author(s)
You May Also Like
More Insights
Editor's Choice


May 2, 2024
While there are plentiful options in cyber resiliency and business continuity tools and platforms, there isn’t one that can knock out everything from sudden cloud outages to prolonged ransomware attacks in a single punch. What can you do to keep the company on its feet no matter what is thrown at it? Find out in this new virtual event.
Reserve Your Seat Now