

Never Miss a Beat: Get a snapshot of the issues affecting the IT industry straight to your inbox.
How To Rip And Convert DVDs to MKV Format in Windows 7
Here's how to back up DVDs to a quality MKV format.
5 Min Read

Backing up DVDs is key. Whether they're your company's training DVDs or discs from your personal collection, it's just smart to do. Backing them up to an MKV file lets you put the DVD files on a server. That way, you and your users can view them on the network.
This method uses two products, Handbrake and DVDFab, to shrink DVDs to manageable sizes of under 2GB.
Here's how to do it:
First download and install DVDFab a commercial product. It's free for a 30-day trial. Its HD Decrypter feature is free with no time constraint.
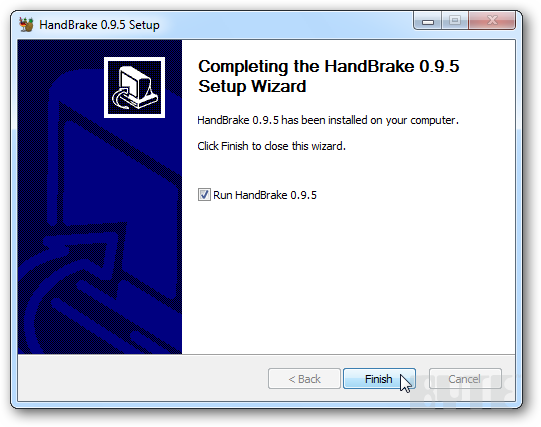
Now download and install the latest version of HandBrake for Windows. You'll use it later to create the MKV file.
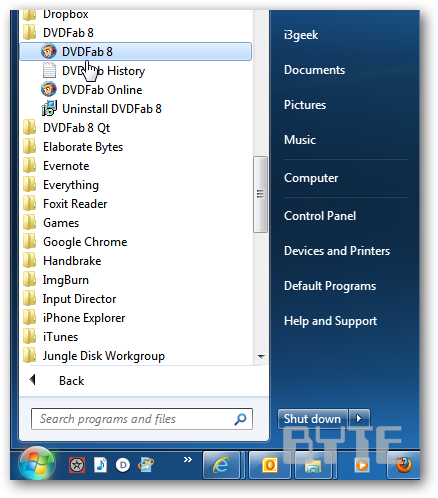
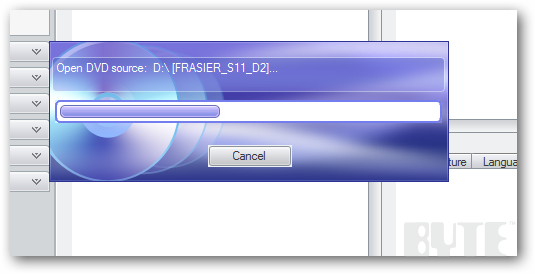
Now pop in the DVD you want to back up. Launch DVDFab from the Start Menu or double-click its desktop icon.
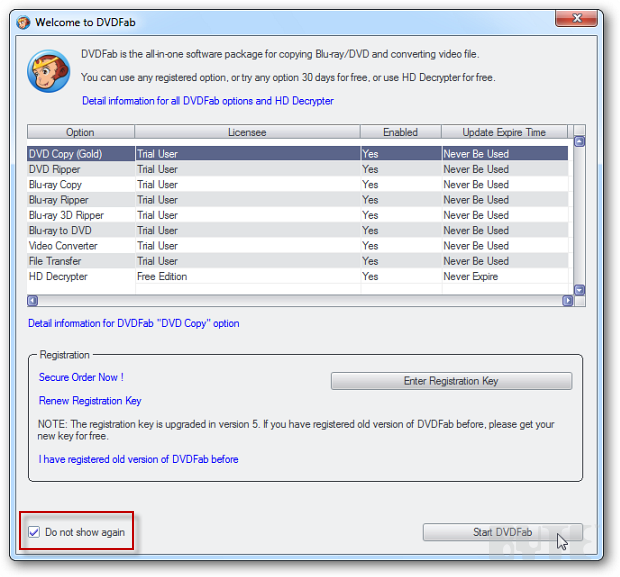
The first time you launch it, you get a welcome screen. If you don’t want to see this screen every time you launch DVDFab, check Do Not Show Again.
DVDFab starts and analyzes the DVD. It takes about 30 seconds to read the DVD source. Depending on the speed of your DVD drive, your mileage will vary. Slower rates leave less chance for corruption.
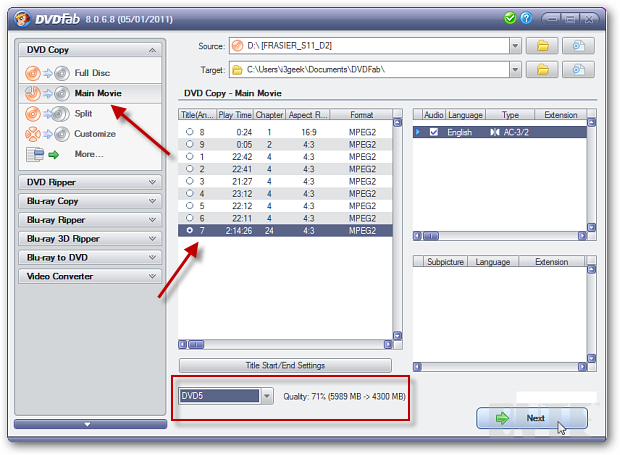
In the next screen, select Main Movie. At the top, set Source to the DVD. Choose the directory you want to store the ripped files. Select the one with the largest file size.
From the dropdown, select DVD5 or DVD9. Select DVD5 for the smallest size -- it doesn't sacrifice video quality that much. Click Next.
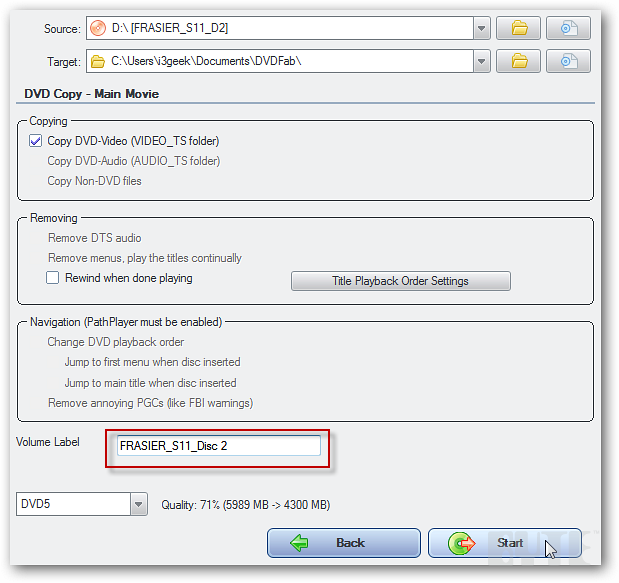
Change the Volume Label to a name you want. Then click Start.
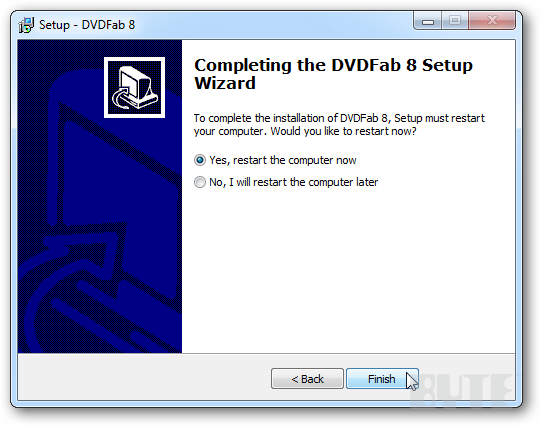
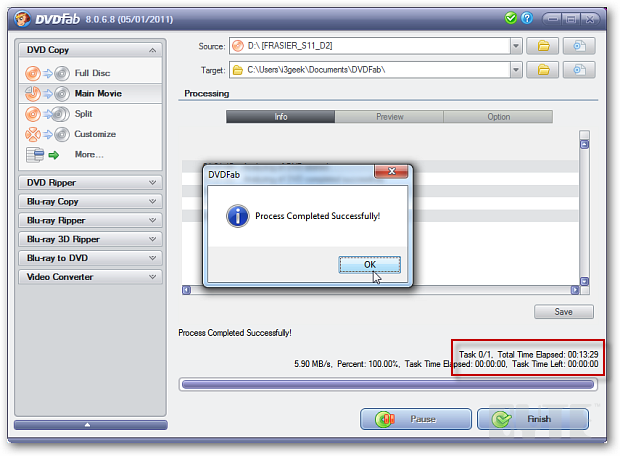
The ripping process takes several minutes. In my example it took just over 13 minutes. When the system is completes encoding and ripping the DVD, it will eject the disc and pop up a message. Click OK and Finish to close DVDFab.
Now go into the directory you selected for the Target and find the VOB files that are on the DVD you just ripped.
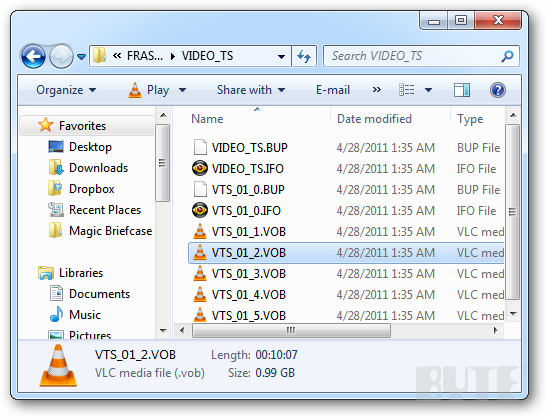
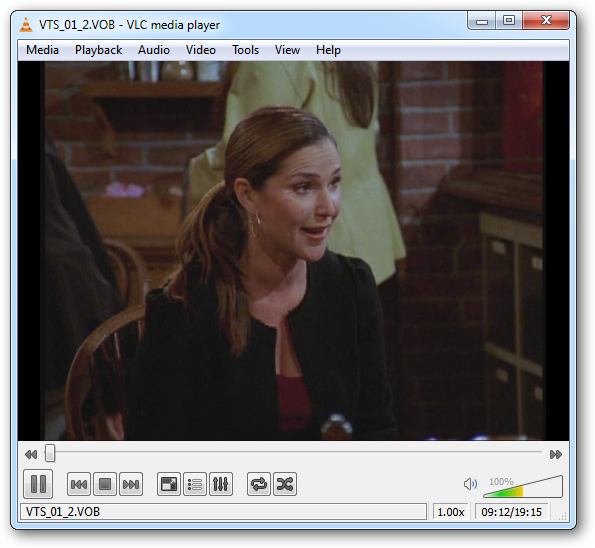
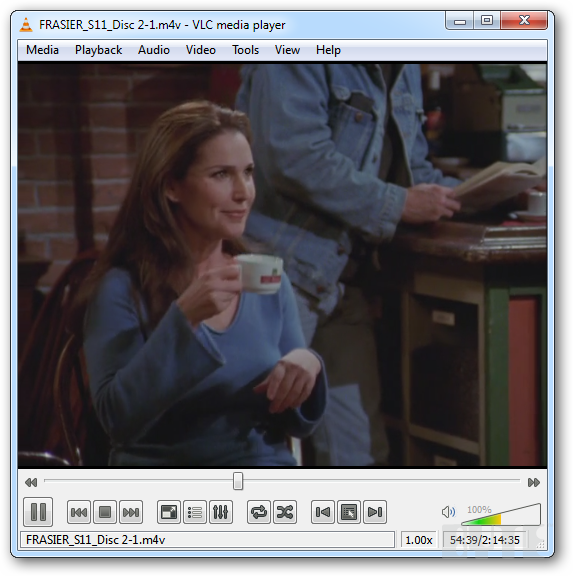
To ensure the encoding and ripping process was successful, open a couple of the VOB files with a media player that supports VOB format. Make sure they look good and play correctly. I use VLC Media Player. It's free and plays virtually every video file type. But any media player will do.
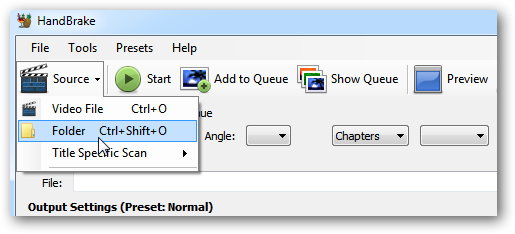
Now that you've decrypted the protection on the DVD and ripped it, launch HandBrake. This is to start the conversion process. Click the Source tab, then hit Folder.
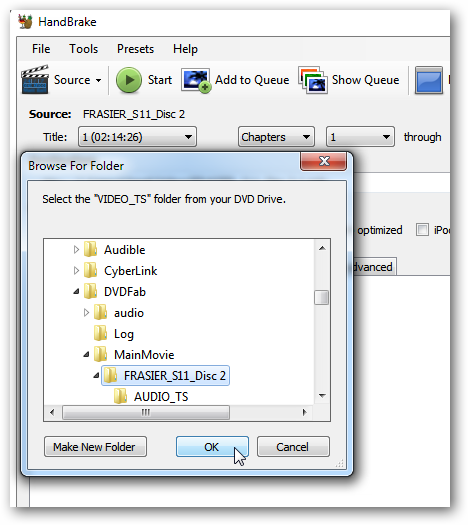
Navigate to the target folder.
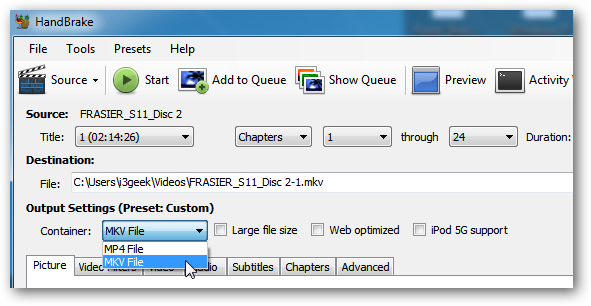
HandBrake will gather the information and populate the various fields. The default destination of the file will be your local Videos folder, but you can change it to something else if you want.
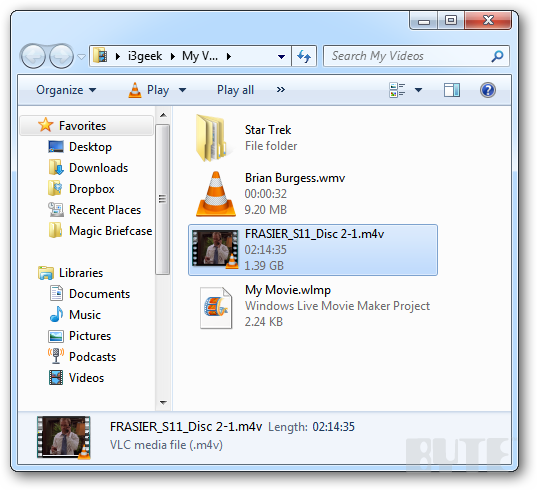
Under Output Settings change the container to MKV file.
I prefer MKV format because its size/quality ratio rocks. Together the VOB files are around 4GB. HandBrake will convert them into a single MKV file that's just over 1.5GB -- with good DVD quality.
Check out the available settings on the right. These include deep naming and optimization settings. I keep the converted files on my Windows Home Server, so I'm leaving the default settings at Normal.
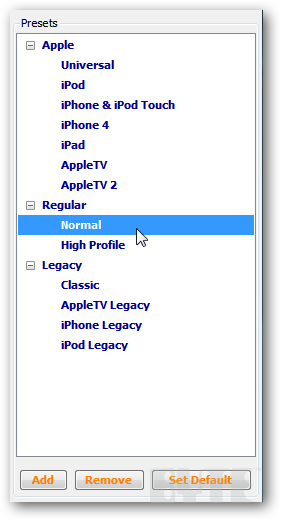
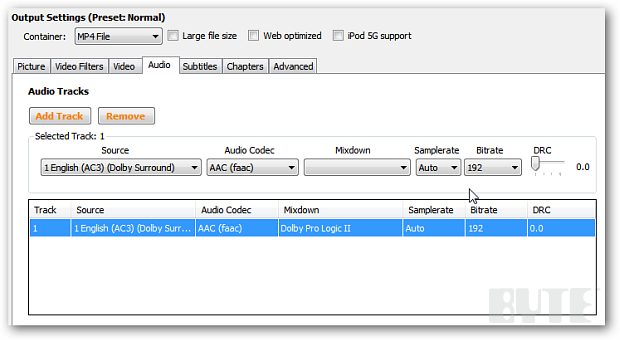
If you want to do additional tweaking to the output file -- options include Aspect Ratio, Audio Quality, Subtitles and more -- select the tabs and make adjustments. Explore. Setting tweakers love the range of options. Or select a Preset. Your choice.
Once you have all of your settings for the final MKV output file, click Start at the top. This creates the MKV file. Monitor the progress.
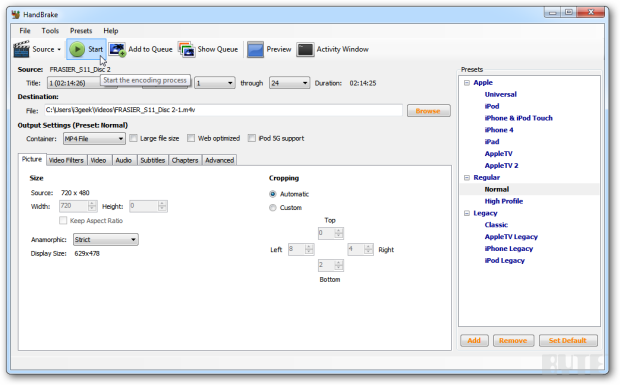
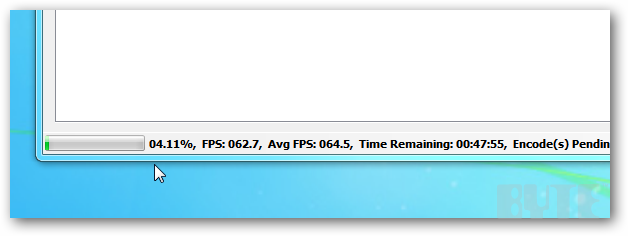
The amount of time it takes to create the MKV file will depend on the size of the DVD, the quality settings, and the speed of your hardware. On my Intel Core3 computer with 8GB of RAM, it took about 35 minutes. When it's done, navigate to the output folder to find the file.
Now anyone on the network you allow will be able to watch your DVD -- from a single MKV file with good quality. At home, I usually store these files on my home server or an external drive. This saves local hard drive space.
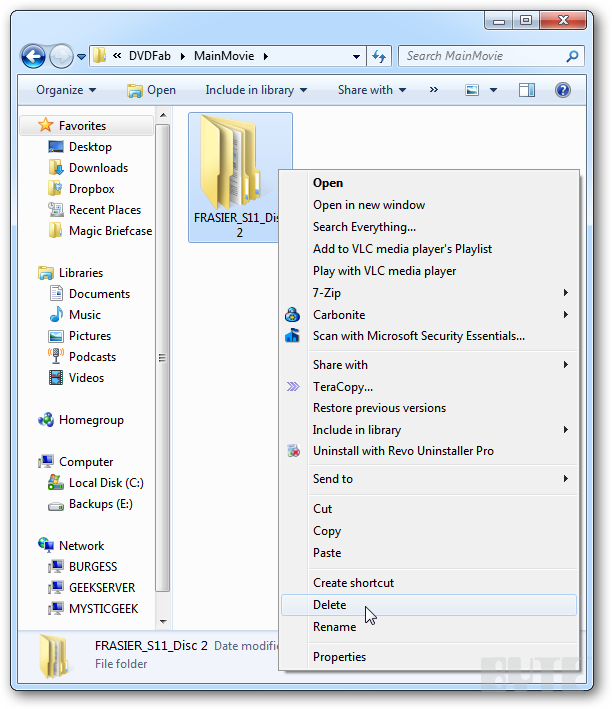
Note: DVDFab doesn't delete the VOB files it ripped automatically. It's a good idea to go back and clean them up. Just go back to the directory you set as the output source and manually delete them.
I highly suggest you back up all your DVDs in the workplace and at home.
Brian Burgess is the executive editor at BYTE. Follow him @mysticgeek. Got a comment or idea? Send it to him at [email protected].
About the Author(s)
You May Also Like
More Insights
Webinars
Editor's Choice


May 2, 2024
While there are plentiful options in cyber resiliency and business continuity tools and platforms, there isn’t one that can knock out everything from sudden cloud outages to prolonged ransomware attacks in a single punch. What can you do to keep the company on its feet no matter what is thrown at it? Find out in this new virtual event.
Reserve Your Seat Now